Features
AI Note Taker
AI Treatment Planner
AI Progress Tracker
Alliance Genie™
Mentalyc & EHR
Resources
Blog
Worksheets and Cheatsheets
Note Examples
Help and Contact
Security
Group Practice
Pricing
Login
Try for Free
Help Articles
Team Collaboration
Session Recording
Notes & Transcripts
Installation & Setup
Troubleshooting
Clear filters
Thank you! Your submission has been received!
Oops! Something went wrong while submitting the form.
How to Record Audio from the Zoom Desktop App for Mentalyc
Session Recording
Troubleshooting Common Errors messages
Troubleshooting
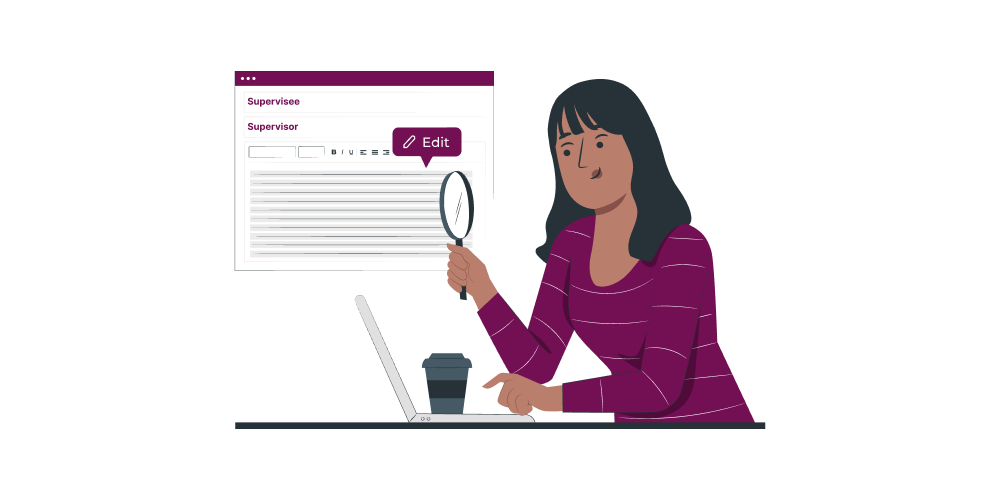
How to use Supervision on Mentalyc
Installation & Setup
How to Create Group Therapy Notes
Notes & Transcripts
How to share my customized note template ( EMDR, Play, or Psychiatry) with others
Notes & Transcripts
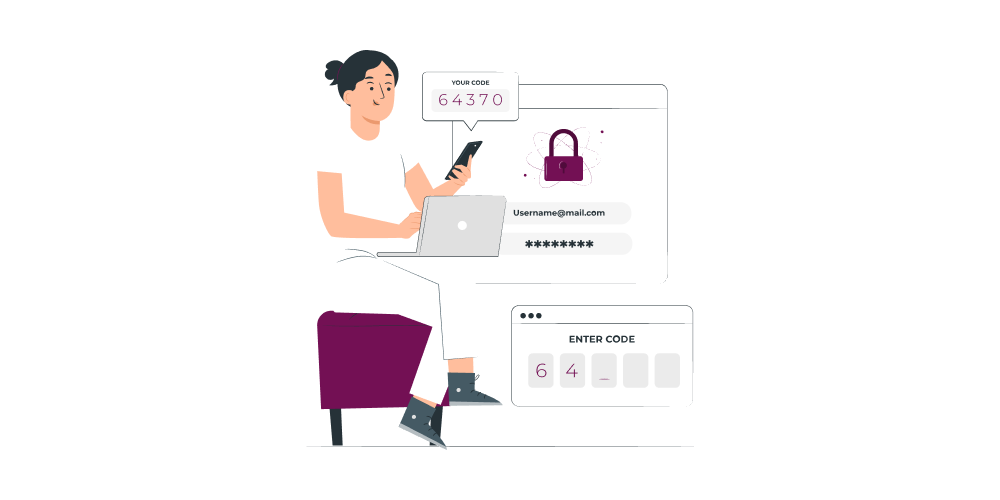
How to Enable Two-Factor Authentication (2FA) on Mentalyc
Installation & Setup
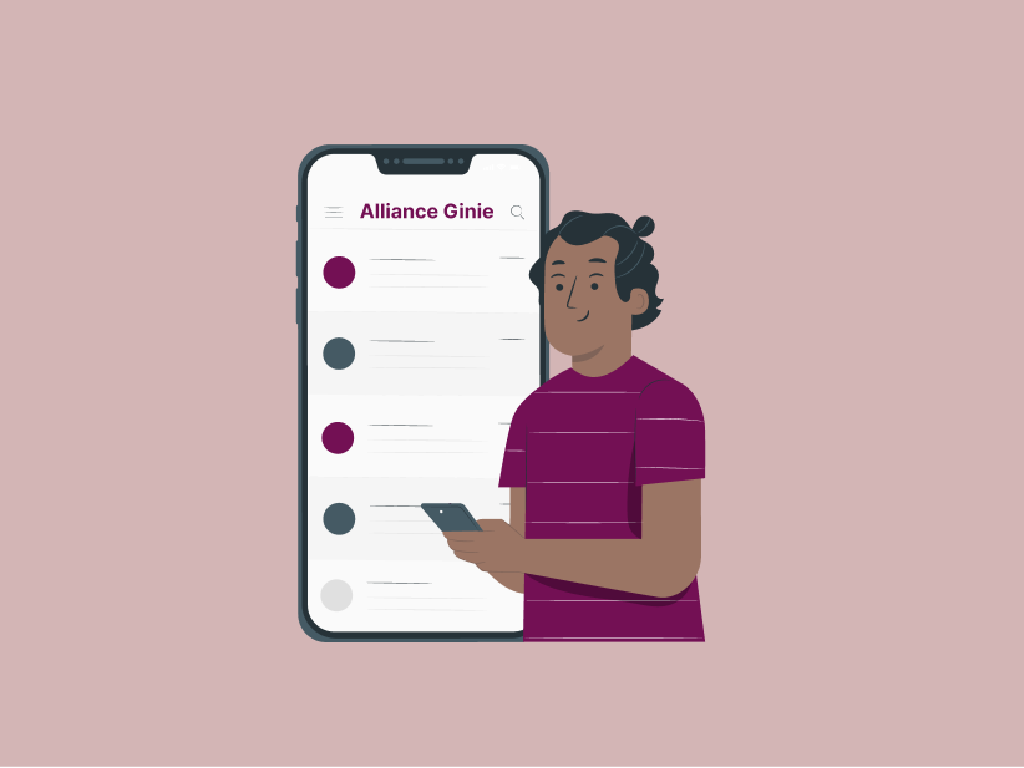
Getting Started with Alliance Genie™ By Mentalyc
Notes & Transcripts
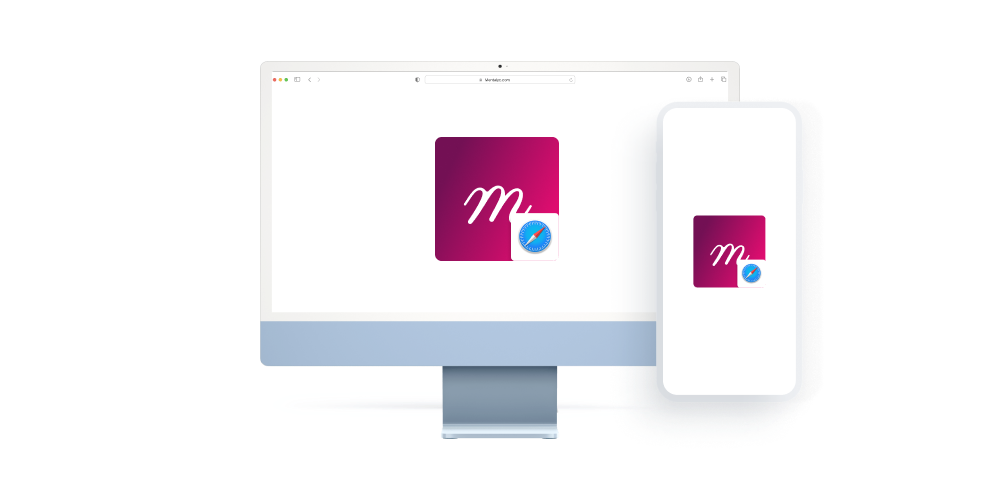
How to create a Mentalyc Shortcut from Safari
Installation & Setup
How to create a Mentalyc Shortcut on Your Mobile Phone from Google Chrome
Installation & Setup
How to Install Mentalyc Shortcut to Your Desktop Using Google Chrome
Installation & Setup
How to upload a session recording to Mentalyc
Session Recording
Building Your Custom EMDR, PLAY, or PSYCHIATRY Note Template in Mentalyc
Notes & Transcripts
How to record your telehealth sessions with Mentalyc
Session Recording
How to record Phone call Sessions on Android (Best for Phone Call Sessions)
Session Recording
How to Ensure Insurance Compliance of Your Notes
Troubleshooting
How to Create your own Templates for Intake and Progress notes
Notes & Transcripts
Unleash Your Dream Team: Setting Up Teams on Mentalyc (with Video Guide)
Team Collaboration