
How to record phone call sessions on Android
Whether you use an Android phone or tablet, Automatic Call Recorder is the best solution to record your phone calls. This app provides an easy-to-use interface with excellent audio quality. In the following article, we will help you use Automatic Call Recorder to record your sessions.
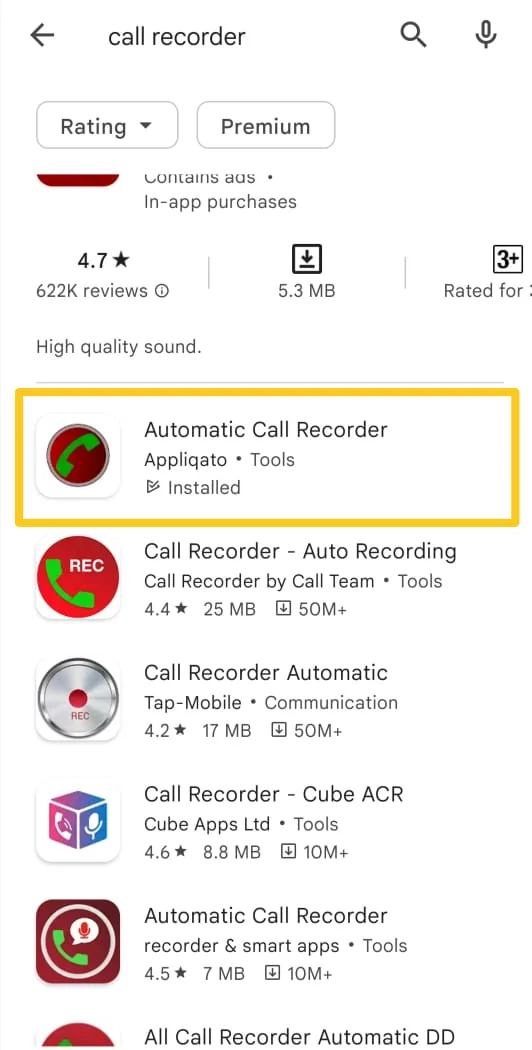
Step 1: Download Automatic Call Recorder from the Google Play Store.
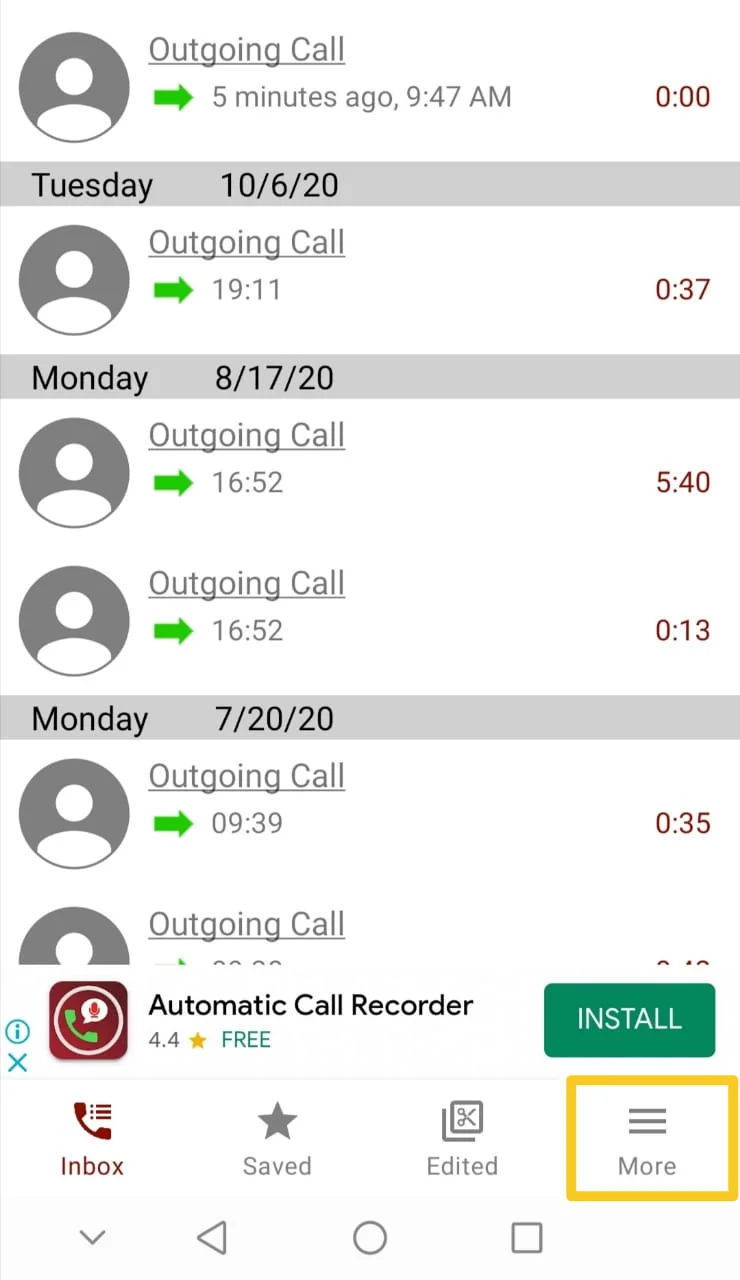
Step 2: After opening the application the user interface will pop up. Press on the “More” tab at the bottom right of the screen to set up the app for call recording.
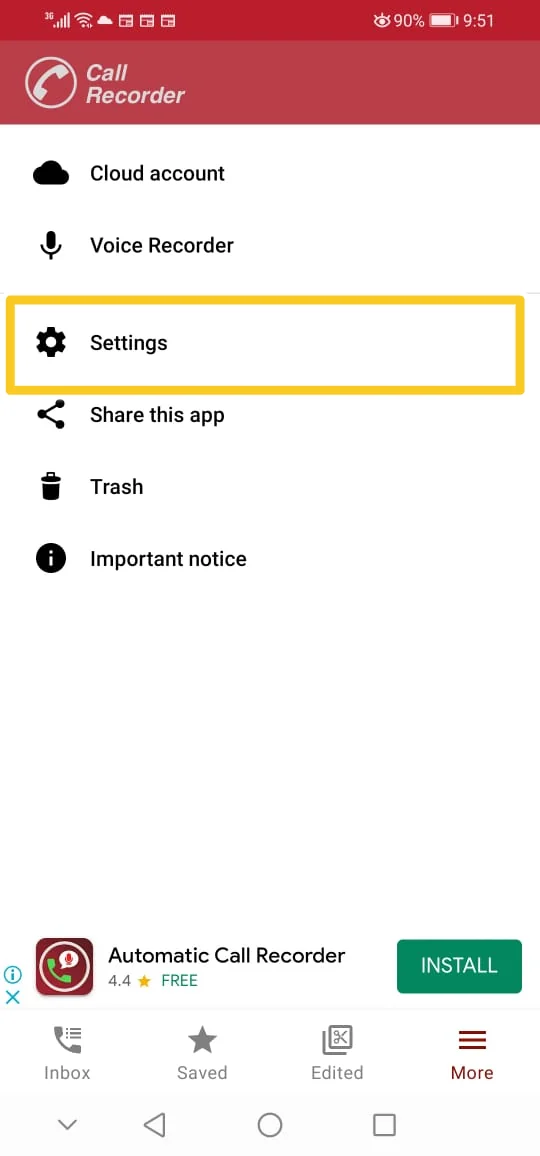
Step 3: After that, a new screen will appear. Press on “Settings”.
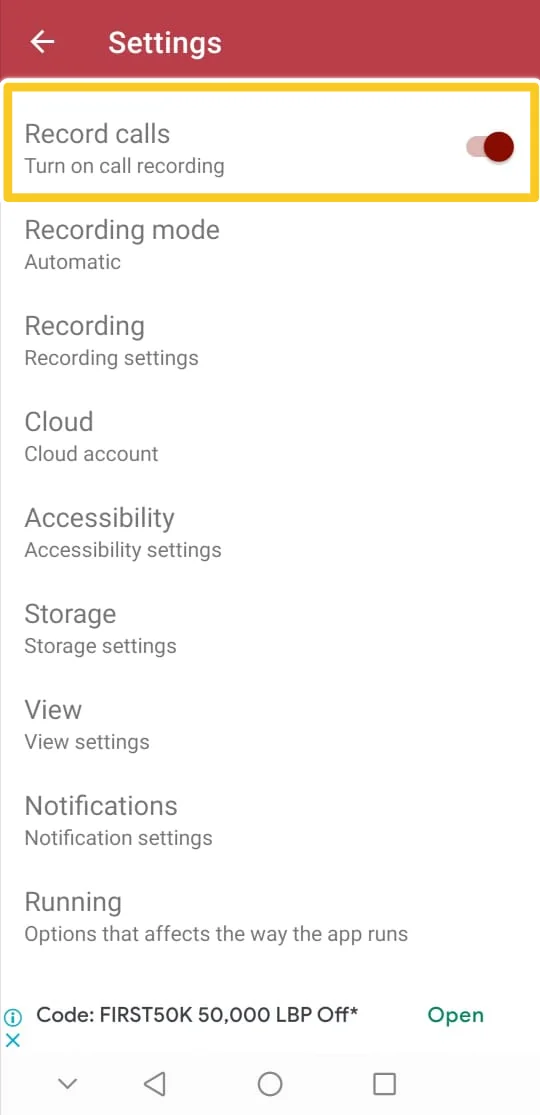
Step 4: Make sure that the “Record calls” option is toggled on.
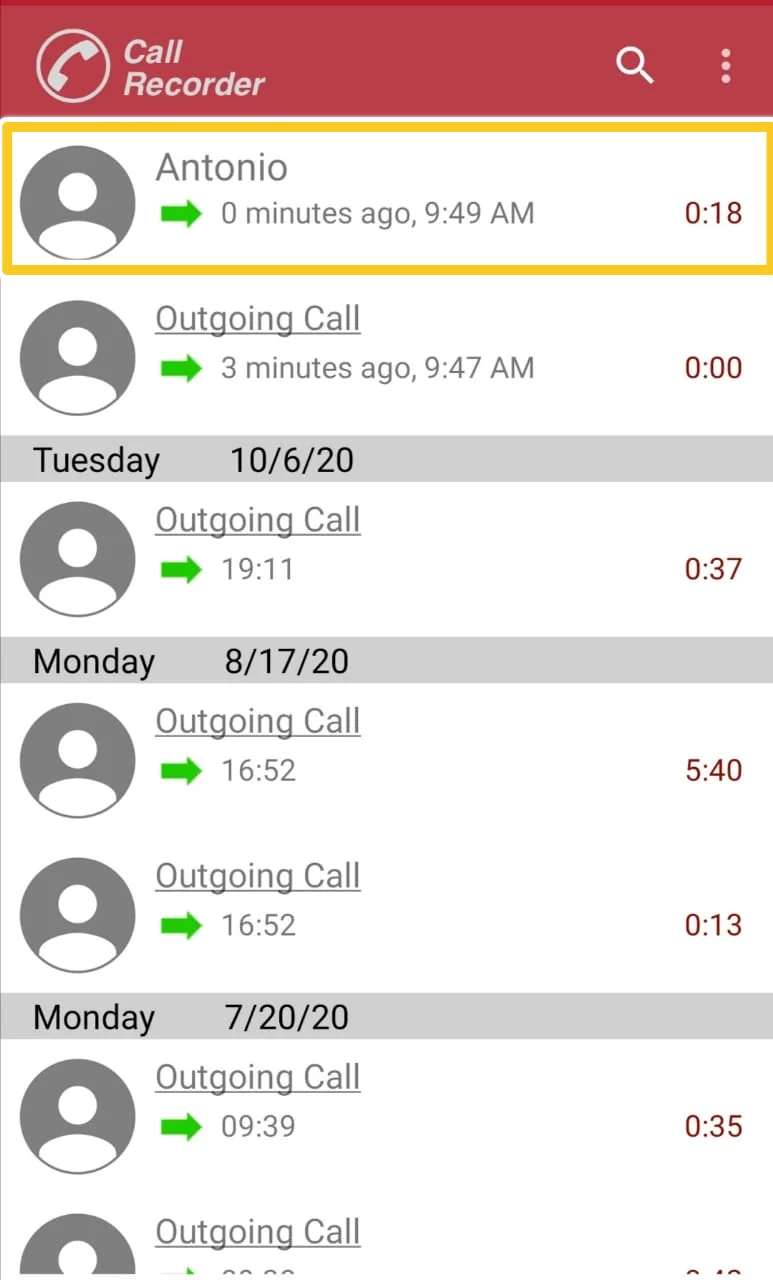
Step 5: Once those steps are completed, you can now go ahead and make your phone call. The app records the call automatically. It then appears on the initial window of the app. Press on the recording for further options.
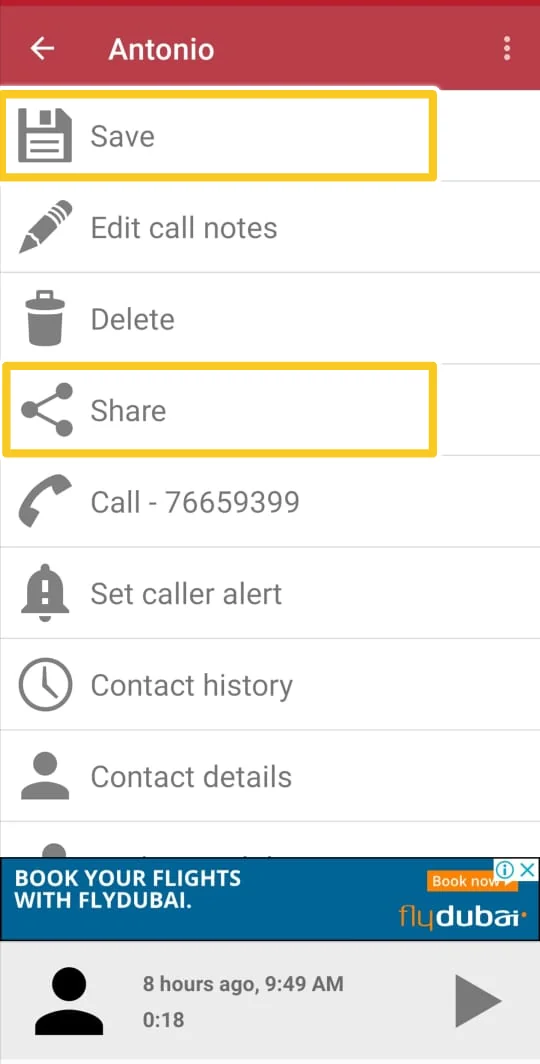
Step 6: Press on “Save” to save the recording locally in your files or “Share” to export it.
What’s next?
After recording your phone call session, the next step is to upload the recording to Mentalyc for it to generate a progress note. Click on the link for a step-by-step guide.